Ever bitten into a samosa that looked good on the outside… but felt dry and disappointing inside?
That’s exactly what this Mutton Samosa avoids.
These samosas are:
- Crispy and flaky outside
- Juicy, spicy, and flavorful inside
- Loaded with perfectly cooked minced mutton (keema)
This is the kind of snack that disappears within minutes at family gatherings, Ramadan iftar tables, tea parties, or weekend evenings.
And once you make homemade mutton samosas properly?
Store-bought ones will never taste the same again.
What Makes Mutton Samosa So Special?
Unlike regular potato samosas, this version uses:
- Spiced minced mutton filling
- Homemade samosa sheets
- Slow-cooked masala that clings beautifully to the meat
The result?
A samosa that’s:
- Richer
- Juicier
- More satisfying
A Quick Look at the History
Samosas have roots tracing back to the Middle East and Central Asia before becoming one of the most iconic snacks across India.
Over time, regional variations evolved:
- North India → potato-heavy fillings
- Hyderabad & Tamil Muslim cuisine → spicy keema samosas
- Kerala → smaller crispy tea-shop style samosas
This version falls beautifully into that South Indian Muslim-style keema samosa category.
Why You’ll Love This Recipe
- Crispy outer layer with juicy filling
- Perfect tea-time snack
- Great for Ramadan & parties
- Freezer-friendly
- Deep, spicy flavor from homemade masala
Ingredient Breakdown
Minced Mutton (Keema)
- The heart of the recipe
- Rich, juicy, and absorbs spices beautifully
Slightly fatty minced mutton gives the best flavor
Spice Powders
- Chilli powder → heat
- Cumin powder → warmth
- Coriander powder → earthy balance
- Garam masala → finishing depth
Onion + Tomato Base
- Onion → sweetness and texture
- Tomato → slight tang and moisture
Ginger Garlic Paste
- Essential for removing the raw meat smell
- Adds savory depth
Homemade Samosa Sheets
- Thin but sturdy
- Crisp beautifully when fried
How This Comes Together
Start by heating oil in a pan and sautéing onions with green chillies.
Cook them patiently until the onions turn golden; this builds the flavor base.
Add tomatoes and let them soften completely.
Now add your spice powders and ginger garlic paste. Stir everything well until the raw smell disappears and the masala becomes aromatic.
Next comes the minced mutton.
At first, it will release moisture; don’t panic. Keep cooking and stirring gently.
Add garam masala and let the meat absorb all those spices.
Pour in a little water, cover, and let it simmer slowly.
As the filling cooks, the flavors deepen and the moisture reduces.
This part is important:
Your filling should be moist… but not watery.
Finish with chopped coriander leaves and let the mixture cool completely.
Making the Samosa Sheets
Mix maida, salt, oil, and water into a soft dough.
Knead it well until smooth and let it rest. This resting step helps:
- Relax the gluten
- Make rolling easier
- Improve crispiness
Roll the dough thin and lightly cook the sheets on a hot pan.
Cut them into samosa strips or halves.
Now shape them into cones, fill with the cooled mutton mixture, and seal using maida paste.
Take your time here, good sealing prevents oil from entering while frying.
Frying the Samosas Perfectly
Heat oil on medium-low flame.
This is crucial.
If the oil is too hot:
- Outside browns quickly
- Inside stays chewy instead of crispy
Slow frying gives you:
- Golden color
- Crispy texture
- Even cooking
As they fry, you’ll notice bubbles forming and the surface turning beautifully crisp.
That’s the sign of a proper samosa.
Pro Tip💡: Always cook the filling until almost dry. Excess moisture will make your samosas soggy and can even burst while frying.
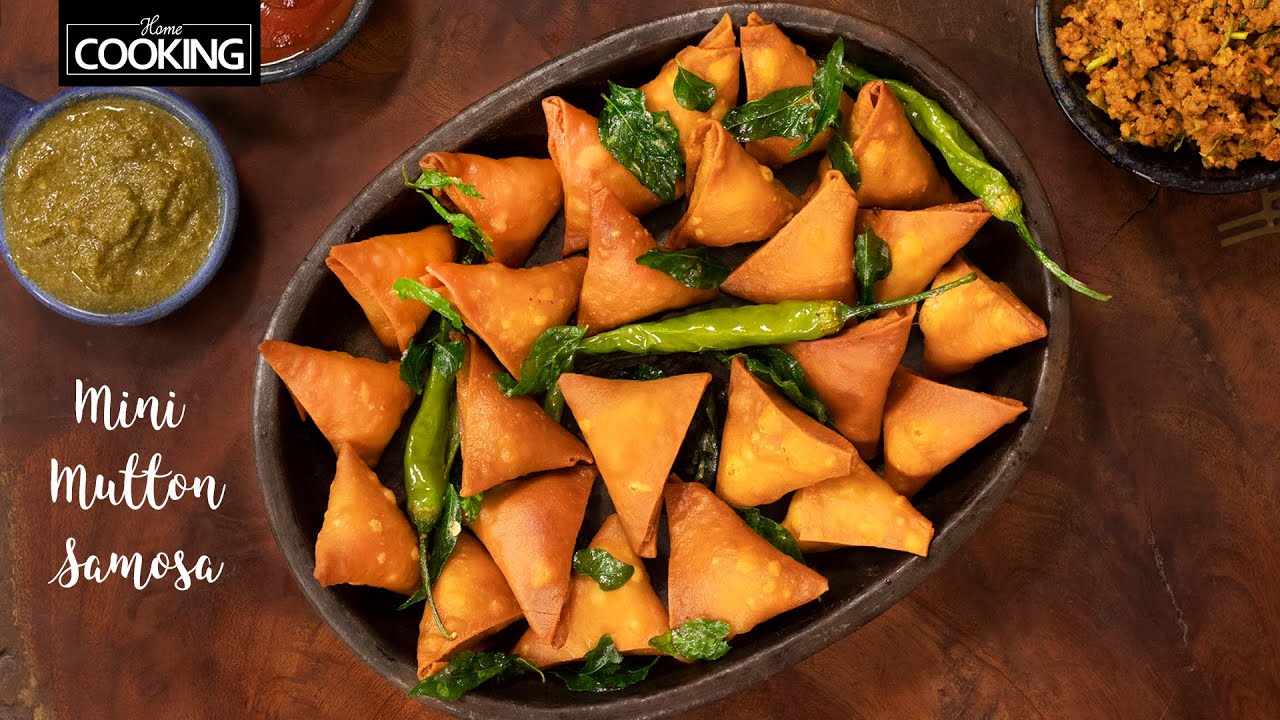
What Makes This Recipe Perfect for Gatherings?
- Easy to make in bulk
- Can prep and freeze ahead
- Crowd favorite across all ages
- Perfect for tea-time and iftar spreads
What Goes Best With Mutton Samosa?
Serve with:
- Mint chutney
- Tomato ketchup
- Spicy mayo
- Hot chai
How to Serve
- Serve hot and crispy
- Garnish with fried curry leaves and green chillies
- Best eaten fresh from the fryer
Packing & Party Preparation Tips
- Freeze shaped uncooked samosas
- Fry directly from frozen when needed
- Ideal for:
- Ramadan
- Potlucks
- Birthday snacks
- Evening tea parties
How to Store Mutton Samosa
Unfried
- Freeze for up to 1 month
Fried
- Refrigerate for up to 2 days
How to Reheat
- Reheat in air fryer or oven for crispiness
- Avoid microwaving too long (makes shell soft)
Substitutions You Can Try
- Replace mutton with:
- Chicken keema
- Soya granules
- Paneer bhurji
- Add peas for extra texture
Common Mistakes to Avoid
- Filling too watery
- Oil too hot while frying
- Thick samosa sheets
- Overfilling cones
- Not sealing properly
Other Related Recipes You Might Like:
- Mini Samosa – crispy bite-sized samosas perfect for tea-time snacks.
- Bread Rolls – crunchy snack with flavourful stuffing.
- Kaara Bonda – fluffy and spicy fried snack for evening cravings.
- Masala Vada (Paruppu Vadai) – crispy lentil fritters packed with flavour.
- Mutton Korma – rich and aromatic mutton gravy for festive meals.
- Laal Maas (Rajasthani Mutton Curry) – fiery mutton curry with bold spices.
- Irani Chai – creamy tea that pairs perfectly with crispy samosas.
Mutton Samosa
Description
Mutton Samosa by Hema Subramanian is a crispy and delicious snack made with spicy mutton keema filling and golden fried pastry. Perfect for tea time or special occasions.
Ingredients
To make filling
To make samosa sheets
To make maida paste
For frying
Instructions
Prep Work
-
Chop onions
Finely chop the onions and keep them ready -
Chop green chillies
Finely chop the green chillies for the filling -
Prepare tomatoes
Deseed and chop the tomatoes into small pieces -
Chop coriander leaves
Finely chop the coriander leaves and keep aside -
Prepare dough
Mix the flour, salt, oil, and water to make a soft dough -
Make maida paste
Mix flour and water into a thick paste for sealing
Method
-
Sauté onions and chillies
Heat oil in a pan and sauté onions and green chillies until the onions turn golden
-
Add tomatoes
Add tomatoes and cook until they soften nicely
-
Add spice powders
Add turmeric powder, chilli powder, cumin powder, coriander powder, and salt then mix well
-
Add ginger garlic paste
Add ginger garlic paste and sauté until the raw smell disappears -
Cook minced mutton
Add minced mutton and cook until the juices release
-
Add garam masala
Sprinkle garam masala and mix everything well -
Simmer filling
Pour water, cover the pan, and cook the filling on medium flame for 15 minutes -
Finish filling
Add coriander leaves and cook until the moisture dries up then keep aside
-
Knead dough
Knead the dough well until smooth and soft
-
Rest dough
Apply oil over the dough, cover, and let it rest for 30 minutes -
Roll sheets
Divide the dough and roll into thin sheets
-
Lightly cook sheets
Place the sheets on a hot pan and cook briefly on both sides
-
Cut sheets
Stack the sheets and cut them into squares then into halves -
Shape samosas
fold the sheets into cones and fill them with the mutton mixture
-
Seal samosas
Seal the edges using the prepared flour paste
-
Prepare all samosas
Repeat the same process for the remaining filling and sheets -
Fry samosas
Heat oil and fry the samosas on medium low flame until golden brown
-
Garnish and serve
Remove the samosas and garnish with fried curry leaves and green chillies
Equipment
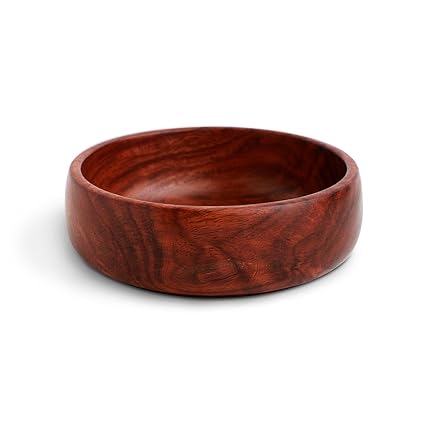
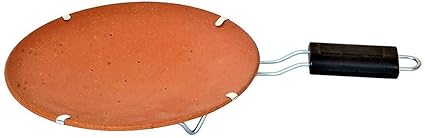
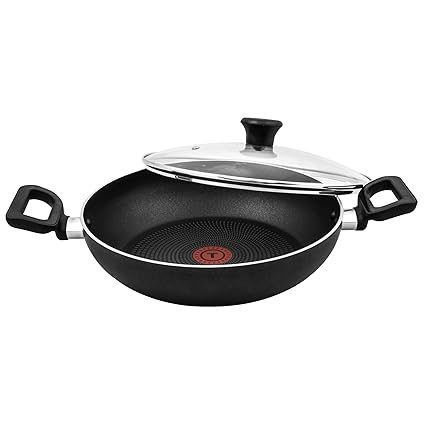
Affiliate Disclosure: This post contains Amazon affiliate links, i.e., when you buy any product using the links below, we get commissions. but it doesn’t cost you anything extra. If you do purchase any product using the given links, we thank you in advance!
Nutrition Facts
Servings 8
- Amount Per Serving
- % Daily Value *
- Total Fat 17g27%
- Saturated Fat 5g25%
- Cholesterol 48mg16%
- Sodium 420mg18%
- Potassium 310mg9%
- Total Carbohydrate 24g8%
- Dietary Fiber 2g8%
- Sugars 2g
- Protein 16g32%
- Vitamin A 420 IU
- Vitamin C 8 mg
- Calcium 38 mg
- Iron 3.2 mg
- Phosphorus 180 mg
- Magnesium 32 mg
- Zinc 3 mg
- Selenium 18 mcg
* Percent Daily Values are based on a 2,000 calorie diet. Your daily value may be higher or lower depending on your calorie needs.